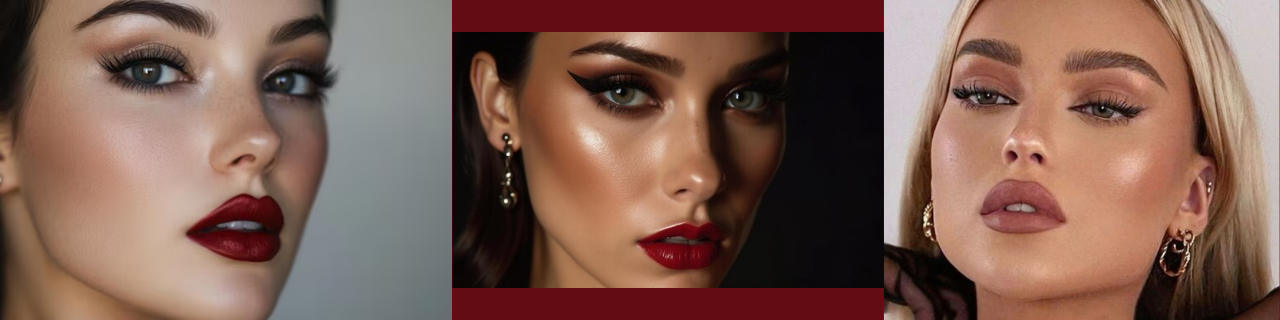


Your cheat sheet to glowing without overdoing.
Soft glam has become the beauty world’s most coveted secret weapon. It’s that perfect sweet spot between barely-there and full coverage that enhances your features while looking utterly effortless. The makeup that makes everyone wonder if you woke up that way or spent an hour blending to perfection. Let’s break down this sought-after look into practical steps that deliver maximum impact with minimal effort.
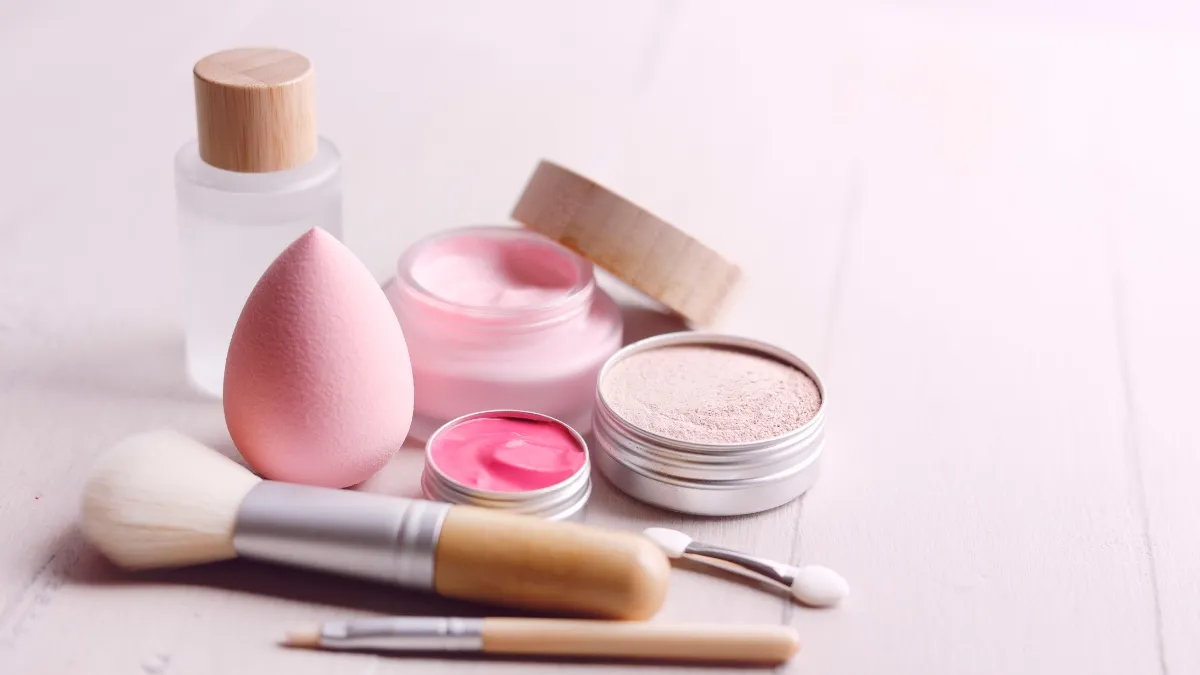
Step 1: Prime Your Canvas for Perfection
The invisible foundation that makes everything else possible. Begin with thoroughly cleansed and moisturised skin, giving your products something smooth to adhere to, which makes all the difference in longevity and finish.
Apply a pea-sized amount of illuminating primer, focusing on the high points of your face, cheekbones, centre of forehead, and bridge of nose. For oilier zones like the T-area, opt for a mattifying primer instead. This strategic approach creates dimension before you’ve even applied colour.
Press primer into the skin rather than rubbing. This application method creates a seamless bond between product and skin that extends wear time dramatically while preserving your skincare benefits underneath.
Step 2: Create Your Flawless Base
Select a medium-coverage foundation with a satin finish, the key to soft glam is skin that looks like skin, just better. Apply with a damp beauty sponge using bouncing motions to build coverage only where needed.
For concealer, choose a shade that matches your foundation exactly; the goal isn’t to brighten but to perfect. Apply in thin layers to areas of concern, allowing each layer to set for 15 seconds before building more coverage.
Mix a tiny drop of liquid highlighter with your foundation for an all-over glow that appears to come from within rather than sit on top of the skin. This technique creates dimension while maintaining a natural finish that photographs beautifully.
Step 3: Set Strategically, Not Completely
Resist the urge to powder your entire face. Instead, use a fluffy brush to apply translucent powder only to areas prone to creasing or shine, typically under eyes, around the nose, and centre of forehead.
Leave the high points of your face powder-free to maintain that coveted glow that makes soft glam so photogenic. Press powder into areas that need setting rather than sweeping across. This method prevents product displacement and creates longer-lasting results with less product.
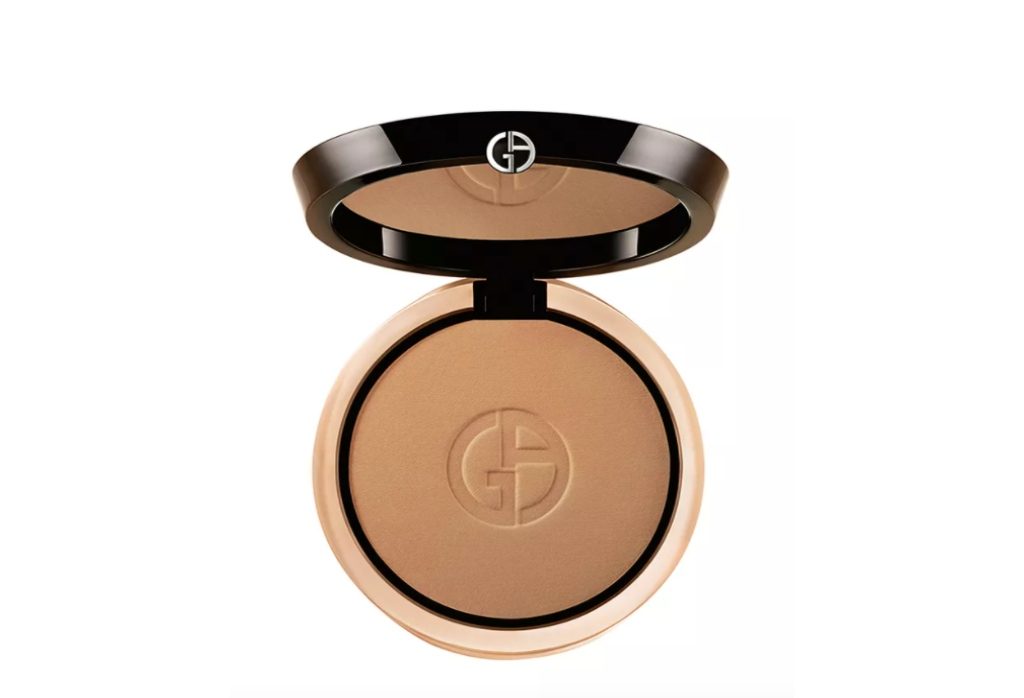
Step 4: Sculpt Without Sharp Edges
For soft glam contour, position is everything. Place a cool-toned contour powder or cream directly beneath the cheekbone, starting from the ear and stopping mid-cheek. Blend upward rather than downward to create lifted facial architecture rather than dragging features down.
For the forehead, apply contour along the hairline and blend thoroughly downward. This creates the illusion of a naturally perfect facial structure without the obvious presence of makeup. Apply blush slightly higher than you think you should, directly on the apples and blending up toward the temples. This placement creates a youthful dimension and connects seamlessly with highlighter for that coveted “I just stepped out of a spa” radiance.
Step 5: Build Eye Dimension Through Layers
Start with a matte transition colour swept across the crease with a fluffy brush. The colour should be one shade or two deeper than your skin colour, deep enough to provide dimension without being clearly coloured.
Use a bit deeper shade of matte to the outer corner of the eye, in small circular motions to blur edges totally. The secret is the increasing intensity that cannot be traced where one colour starts and another stops.
Then, tap on a satin or soft shimmer shade in the center of the lid with your finger. The warmth of your finger melts the product into the skin for an invisible finish that catches light naturally. Rather than jarring eyeliner, apply dark eyeshadow to the upper lash line with an angled brush, pressing the product into the lash base. This adds depth and definition without any obvious appearance of liner, the ultimate in soft glam subtlety.
Step 6: Create Lashes With Volume, Not Drama
Curl your lashes thoroughly, holding the curler at the base for 10 seconds before pulsing gently upward. This creates a natural curl that lasts all day rather than a crimped appearance.
Apply two coats of lengthening mascara to upper lashes, focusing on the root and wiggling the wand upward. For lower lashes, use whatever minimal product remains on the wand, just enough to define without becoming heavy. Between mascara coats, dust a tiny amount of translucent powder onto the lashes. This creates additional thickness without clumping and dramatically extends wear time.
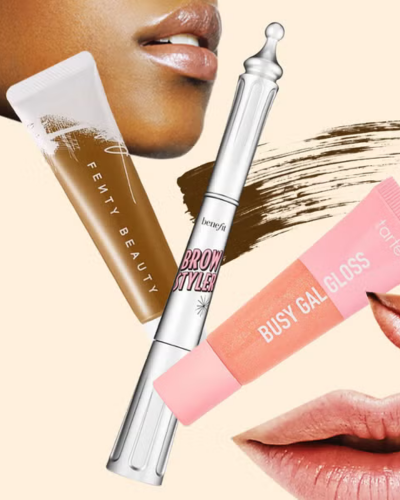
Step 7: Frame With Softly Defined Brows
Using a fine-tipped brow pencil, create hair-like strokes in sparse areas following your natural growth pattern. Focus on creating a framework rather than filling completely; visible skin between strokes creates the most natural appearance.
Set with a tinted brow gel in upward strokes, focusing on lifting the front portion of the brow for that trendy laminated effect. The tail should be more defined while the front remains soft and diffused. Apply a tiny amount of concealer on a flat brush to clean up the lower edge of your brow.
Step 8: Perfect Your Pout With Dimension
Begin by gently exfoliating lips to create the smoothest possible canvas. Apply a hydrating lip balm and allow it to absorb while completing the rest of your makeup.
Outline lips with a liner pencil that mirrors your natural lip colour, careful to achieve symmetry and delicate definition. Fill in lips fully with the liner in order to develop a base that holds colour and stops feathering.
Put on lipstick in a neutral colour that suits your complexion, blot once, and then reapply for depth and wear. Top off with a small dot of gloss just in the center of each lip for depth that catches the light beautifully.
Step 9: Lock It In For All-Day Wear
Hold the setting spray 8-10 inches from your face and apply in an X and T formation, allowing each layer to dry completely before the next. This multi-directional application ensures every angle of your face receives equal coverage.
For special occasions or extended wear, press a small amount of translucent powder into areas prone to breakthrough shine using a puff rather than a brush. This final step creates budge-proof wear without disturbing your carefully crafted glow.
